Home / User Guide / Download And Install
How to Download and Install Advanced PC Cleanup?
Please follow these steps to install and use Advanced PC Cleanup:
1. Visit the official Advanced PC Cleanup website and click the "Download Now" button.
2. Save the downloaded file on your PC.
3. Locate the installer file (apcsetup.exe) in your Downloads folder and double-click it to start the installation.
![]()
Note: -By default, downloaded files are saved in the Downloads folder. If you have saved them in another folder, navigate to it and double-click the setup file to start the installation.
You will be prompted for a confirmation window if User Account Control is enabled. Click Yes to proceed.
4. You will now receive the installation wizard, guiding you through the steps.
If you don�t want to create a desktop icon and run an automatic scan after installation, uncheck the box next to
�Create a desktop icon.� and �Run automatic scan once the product is successfully installed.�

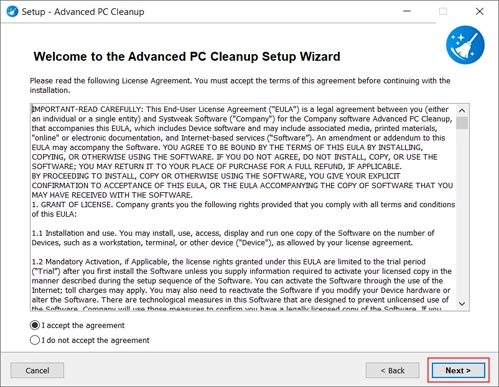
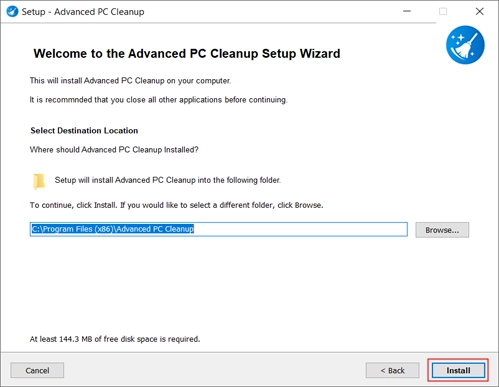
Once that is done, follow the on-screen prompts, accept the license agreement, and select the installation folder to finish the product installation.
5. Advanced PC Cleanup will launch and run the scan if the option is checked. If you unchecked the option, you must run a manual scan by clicking the Start Scan Now button.

Note -Trial users can clean junk, temporary files, and invalid registry entries, update drivers, manage startup, uninstall apps, and clear old downloads. However, to clean up infections and protect sensitive data, you will have to upgrade to the Pro version.